Time for a new summary of the stuff that has happened 
Well, as mentioned, we're mostly working on the display now and preparing for the GamesCom (where we also want to present the Pyra with a display, of course)
Let's start with...
1. The Case
The shoulder button area has been changed and looks a lot more usable now.
Of course, a test will tell us that.
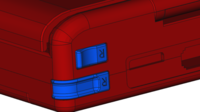
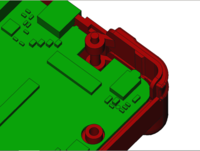
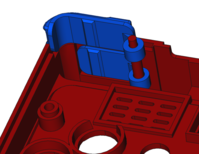
Not much more has happened here, as we're mostly waiting for the final PCB and LCD.
2. The PCB
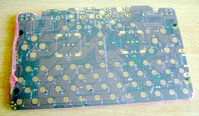
Mainboard Rev3 is finished - which is already pretty advanced. It will be used to find design flaws, bugs - and then hopefully, Rev4 will be last.
The PCB will be populated next week, here is already a picture of the PCB:
Next up is a little photo story
Nikolaus bought himself some equipment (a stencil printer) to be able to populate prototype PCBs himself at home.
He used one of the current display PCBs to test it out - and here are some neat pictures
a. Testing if the component fits (without solder paste)
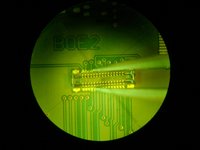
b. Putting the stencil into the stencil printer
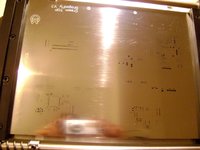
c. PCB and stencil adjusted
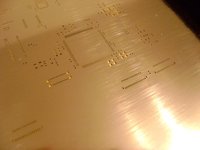
d. Testing on normal paper (to be on the safe side )
)
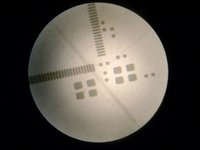
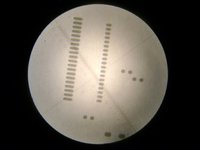
e. Applied to the real PCB
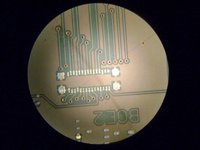
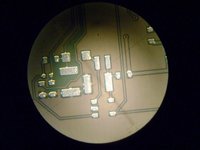
f. Doing manual pick and place (with a small tool to help having a calm hand)
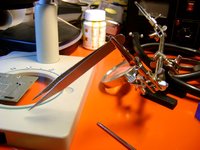
g. Parts properly put on
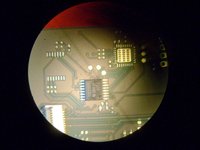
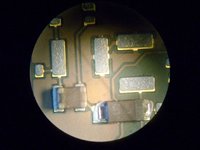
h. Next step: Put it into the (pizza) oven to bake the board.
Worked perfect - no short circuits, PCB is already tested and working

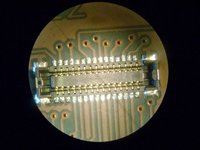
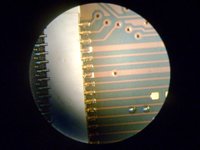
So, next step: Get the Displays to work
3. The GamesCom and other preparations
Askarus and me have been working on our GamesCom Booth.
Here is a small overview of what our booth most probably will look like:
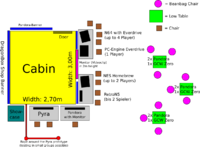
Additionally, I've opened up the Pyra section in the DragonBox shop.
It will be filled with some merchandise products soon.
I'll also put the actual unit on there (of course, it can't be ordered yet), as the shop supports notification eMails, so everyone who has interest in the device but doesn't want to follow the development can inscribe himself into the notification list and get an eMail when ordering starts.
See you soon
Well, as mentioned, we're mostly working on the display now and preparing for the GamesCom (where we also want to present the Pyra with a display, of course)
Let's start with...
1. The Case
The shoulder button area has been changed and looks a lot more usable now.
Of course, a test will tell us that.


Not much more has happened here, as we're mostly waiting for the final PCB and LCD.
2. The PCB
Mainboard Rev3 is finished - which is already pretty advanced. It will be used to find design flaws, bugs - and then hopefully, Rev4 will be last.
The PCB will be populated next week, here is already a picture of the PCB:

Next up is a little photo story
Nikolaus bought himself some equipment (a stencil printer) to be able to populate prototype PCBs himself at home.
He used one of the current display PCBs to test it out - and here are some neat pictures
a. Testing if the component fits (without solder paste)

b. Putting the stencil into the stencil printer

c. PCB and stencil adjusted

d. Testing on normal paper (to be on the safe side


e. Applied to the real PCB


f. Doing manual pick and place (with a small tool to help having a calm hand)

g. Parts properly put on


h. Next step: Put it into the (pizza) oven to bake the board.
Worked perfect - no short circuits, PCB is already tested and working


So, next step: Get the Displays to work
3. The GamesCom and other preparations
Askarus and me have been working on our GamesCom Booth.
Here is a small overview of what our booth most probably will look like:

Additionally, I've opened up the Pyra section in the DragonBox shop.
It will be filled with some merchandise products soon.
I'll also put the actual unit on there (of course, it can't be ordered yet), as the shop supports notification eMails, so everyone who has interest in the device but doesn't want to follow the development can inscribe himself into the notification list and get an eMail when ordering starts.
See you soon
Last edited by a moderator:

