Well, as mentioned, the case is nigh finished I just received the new case files yesterday.
Here are some pictures straight from FreeCAD for you
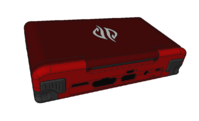
Closed unit, you can clearly see the shoulder buttons, all connectors as well as the SD Card Slots and the Stylus.
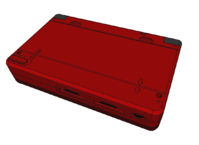
Here's the keyboard part and the lid with the LCD.
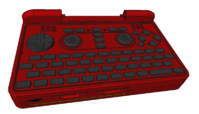
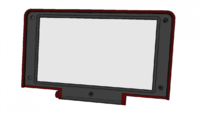
If you take a closer look at the LCD, you can see that there are two dummy screw slots - that's because part of the display is below that area.
That side will be clipped, whereas the other side will be screwed (same as the lower screw).
We'll have bumpers in there so you can't see that.
This way we can make the frame as small as possible, keep it sturdy with the screws and make sure we don't use too many clips.
Here's the inner part of the keyboard part:
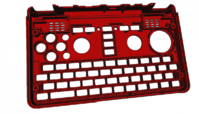
Nothing too special, but the enclosement of the speakers is important for a good sound, can't wait to try them out
Next let's take a closer look on the shoulder buttons:
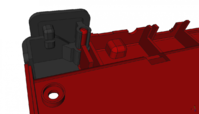
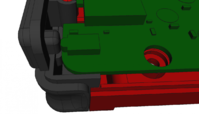
The first picture shows them without the PCB. Really sturdy buttons should be really hard to break.
As you can see with the second picture, the plastic case will also stop the buttons before they can hurt the switches on the PCB.
That should make everything very robust as well.
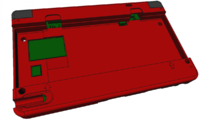
Here's a last picture for you, showing where the SIM Card will be:
Some notes about the hinge:
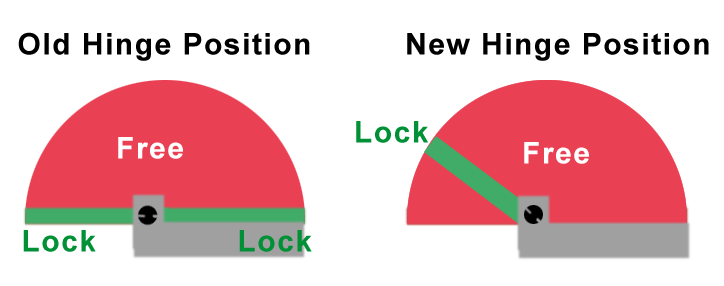
The hinge part we'll use will be the same as in the Pandora, however, the hinge area will be changed a bit.
First, some background about my thoughts:
What's good with the current hinge design is that it snaps open and snaps close.
That's important and better than laptop friction hinges, which are stiff but don't really close well (unless you use some locking mechanism).
Our ideal hinge would be one which snaps open and close and has some friction added inbetween.
That's what we're trying to do here - using one simple trick.
The opposite side of the hinge (where the LCD Cable goes through) won't have a perfectly round hole and peg, but a slightly oval one.
That way, once you open it a bit, it has some friction - and when you're near 180°, the friction goes away again.
We need to try and tweak it a bit, but it should work out pretty well.
Here are some pictures straight from FreeCAD for you
Closed unit, you can clearly see the shoulder buttons, all connectors as well as the SD Card Slots and the Stylus.


Here's the keyboard part and the lid with the LCD.


If you take a closer look at the LCD, you can see that there are two dummy screw slots - that's because part of the display is below that area.
That side will be clipped, whereas the other side will be screwed (same as the lower screw).
We'll have bumpers in there so you can't see that.
This way we can make the frame as small as possible, keep it sturdy with the screws and make sure we don't use too many clips.
Here's the inner part of the keyboard part:

Nothing too special, but the enclosement of the speakers is important for a good sound, can't wait to try them out
Next let's take a closer look on the shoulder buttons:


The first picture shows them without the PCB. Really sturdy buttons should be really hard to break.
As you can see with the second picture, the plastic case will also stop the buttons before they can hurt the switches on the PCB.
That should make everything very robust as well.
Here's a last picture for you, showing where the SIM Card will be:

Some notes about the hinge:
The hinge part we'll use will be the same as in the Pandora, however, the hinge area will be changed a bit.
First, some background about my thoughts:
What's good with the current hinge design is that it snaps open and snaps close.
That's important and better than laptop friction hinges, which are stiff but don't really close well (unless you use some locking mechanism).
Our ideal hinge would be one which snaps open and close and has some friction added inbetween.
That's what we're trying to do here - using one simple trick.
The opposite side of the hinge (where the LCD Cable goes through) won't have a perfectly round hole and peg, but a slightly oval one.
That way, once you open it a bit, it has some friction - and when you're near 180°, the friction goes away again.
We need to try and tweak it a bit, but it should work out pretty well.
Last edited by a moderator:


