Terran
Active Member
- Joined
- Oct 30, 2009
- Messages
- 527
- Age
- 34
EvilDragon [Englischer Beitrag] said:Time for a new summary of the stuff that has happened
Well, as mentioned, we're mostly working on the display now and preparing for the GamesCom (where we also want to present the Pyra with a display, of course)
Let's start with...
1. The Case
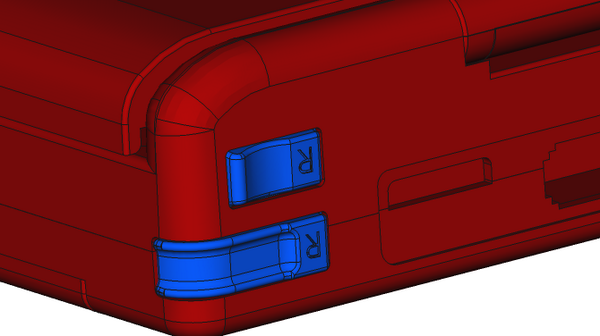
The shoulder button area has been changed and looks a lot more usable now.
Of course, a test will tell us that.
[Bild in der Übersetzung]
Not much more has happened here, as we're mostly waiting for the final PCB and LCD.
2. The PCB
Mainboard Rev3 is finished - which is already pretty advanced. It will be used to find design flaws, bugs - and then hopefully, Rev4 will be last.
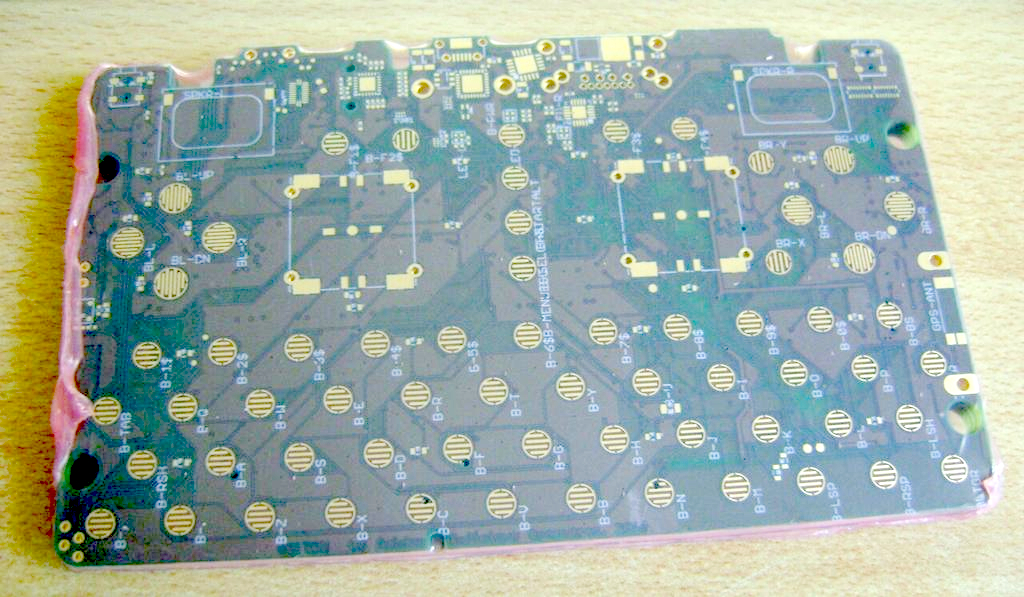
The PCB will be populated next week, here is already a picture of the PCB:
[Bild in der Übersetzung]
Next up is a little photo story
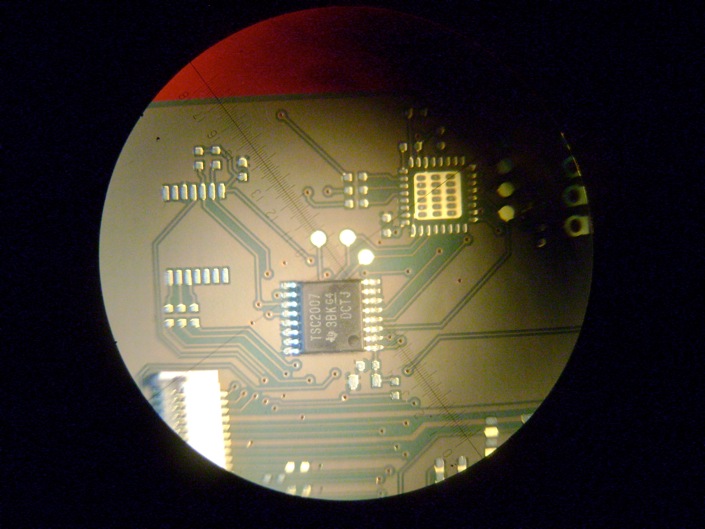
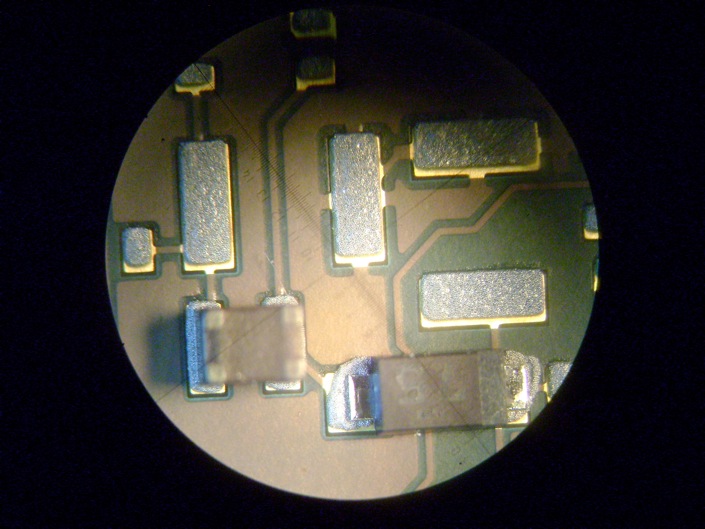
Nikolaus bought himself some equipment (a stencil printer) to be able to populate prototype PCBs himself at home.
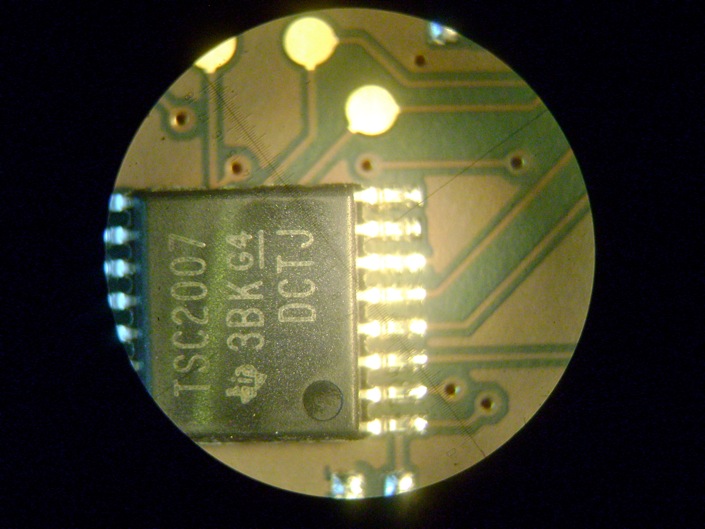
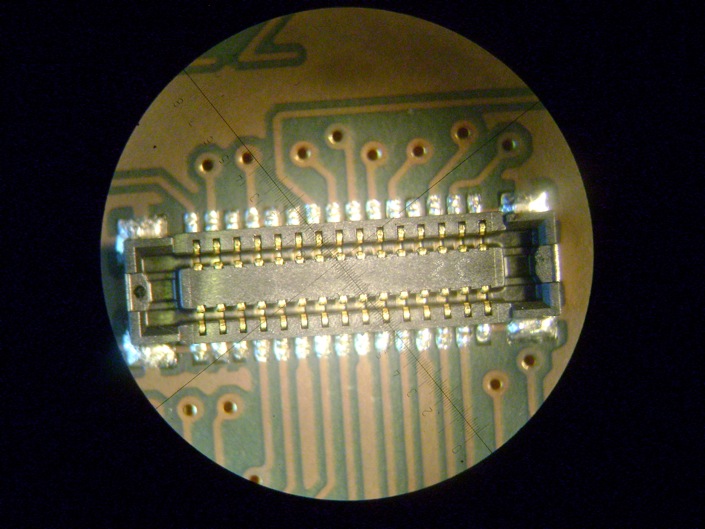
He used one of the current display PCBs to test it out - and here are some neat pictures
a. Testing if the component fits (without solder paste)
[Bild in der Übersetzung]
b. Putting the stencil into the stencil printer
[Bild in der Übersetzung]
c. PCB and stencil adjusted
[Bild in der Übersetzung]
d. Testing on normal paper (to be on the safe side)
[Bild in der Übersetzung]
e. Applied to the real PCB
[Bild in der Übersetzung]
f. Doing manual pick and place (with a small tool to help having a calm hand)
[Bild in der Übersetzung]
g. Parts properly put on
[Bild in der Übersetzung]
h. Next step: Put it into the (pizza) oven to bake the board.
Worked perfect - no short circuits, PCB is already tested and working
[Bild in der Übersetzung]
So, next step: Get the Displays to work
3. The GamesCom and other preparations
Askarus and me have been working on our GamesCom Booth.
Here is a small overview of what our booth most probably will look like:
[Bild in der Übersetzung]
Additionally, I've opened up the Pyra section in the DragonBox shop.
It will be filled with some merchandise products soon.
I'll also put the actual unit on there (of course, it can't be ordered yet), as the shop supports notification eMails, so everyone who has interest in the device but doesn't want to follow the development can inscribe himself into the notification list and get an eMail when ordering starts.
See you soon
Übersetzung said:Zeit für eine Zusammenfassung, anhand dessen, was geschehen ist.
Wie bereits erwähnt, arbeiten wir am Display und bereiten uns für die Gamescom vor (wo wir eine Pyra mit Display haben wollen).
Last uns starten...
1.) Das Gehäuse
Die Schultertasten haben sich verändert und sehen besser verwendbar aus.
Natürlich wird das erst ein Test zeigen.
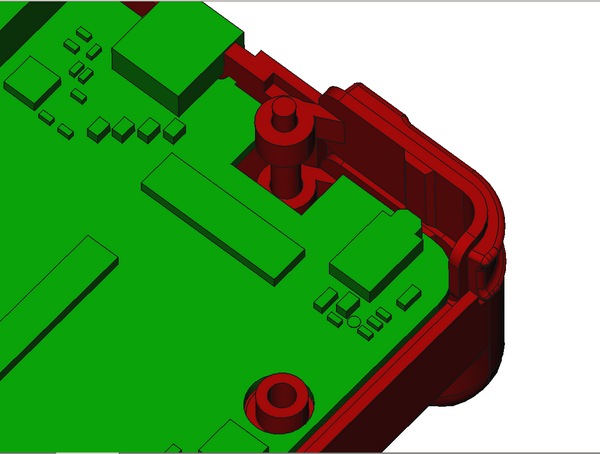
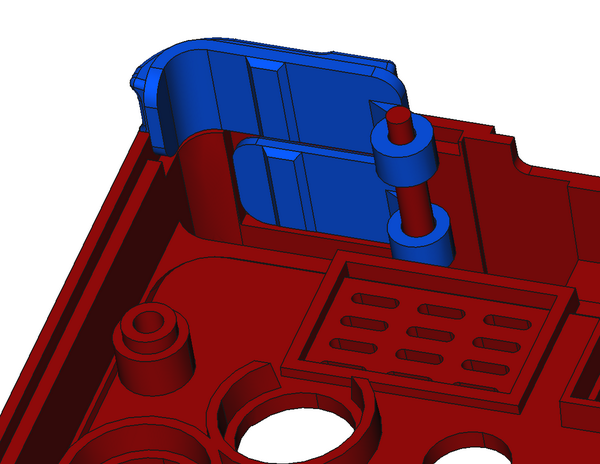
Es hat sich nicht viel verändert, da wir auf das Finale PCB und LCD warten.
2.) Das PCB
Das Mainboard Rev3 ist fertig - welches sehr fortgeschritten ist.
Es wird verwendet, um Designfehler und Bugs zu finden - und hoffentlich ist Rev4 die Letzte Version.
Das PCB wird nächste Woche bestückt, hier ist ein Bild vom nackten PCB:
Als nächstes gibt es eine kleine Bildgeschichte.
Nikolaus hat sich selbst Equipment gekauft (ein Schablonendrucker), damit er das Prototyp PCB zuhause Drucken kann.
Es hat, zum testen, ein Display-PCB gedruckt - hier sind ein paar nette Bilder.
A.) Testen, ob die Bauteile passen (ohne Lötpaste).
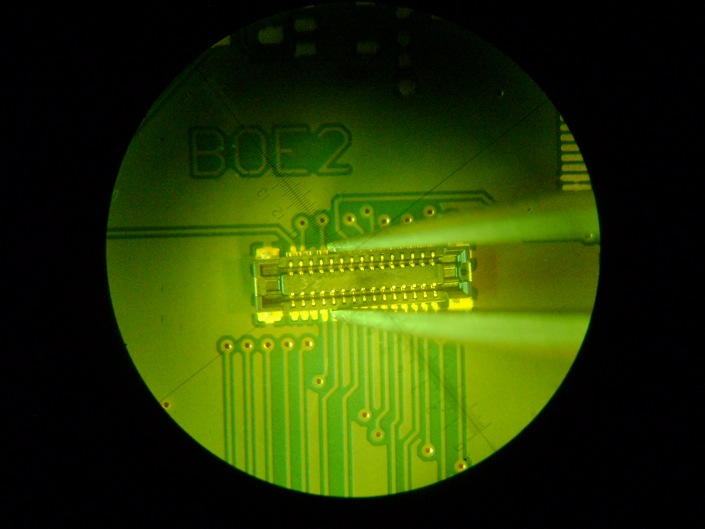
B.) Schablone in den Drucker hineinlegen.
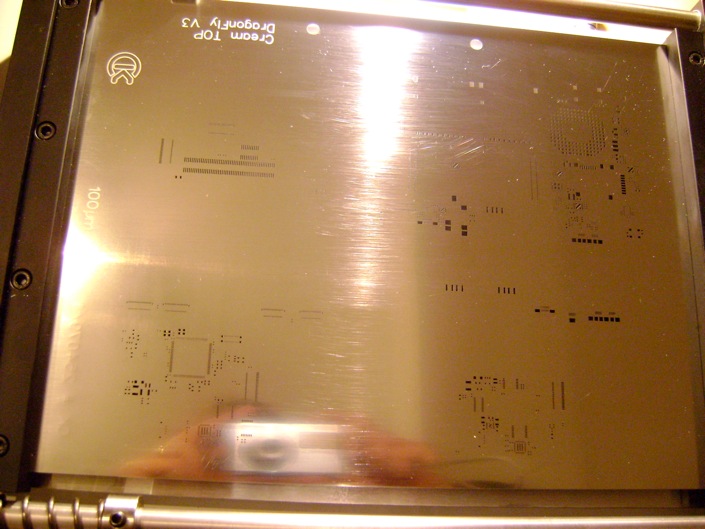
C.) PCB und Schablone ausrichten.
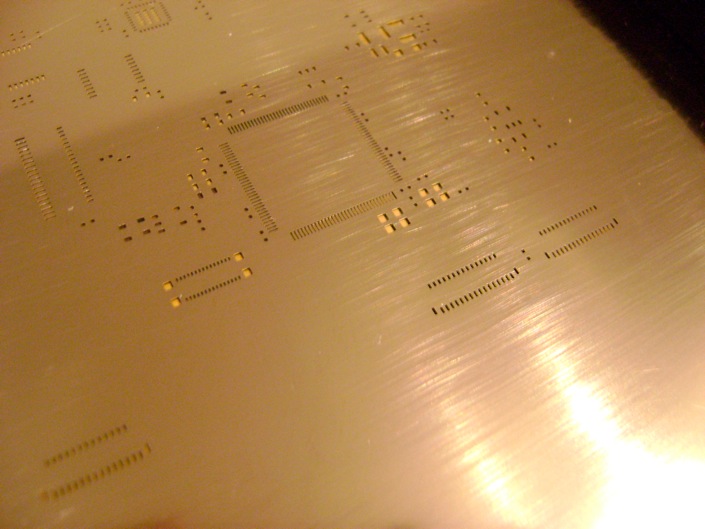
D.) Auf normalem Papier testen (um sicher zu gehen)
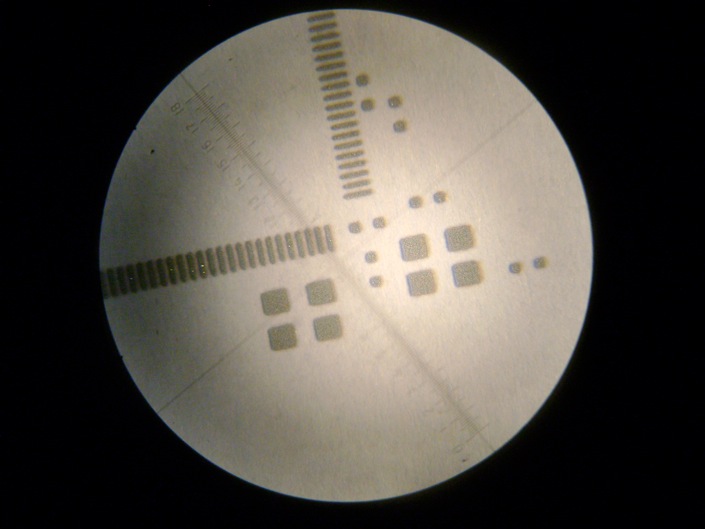
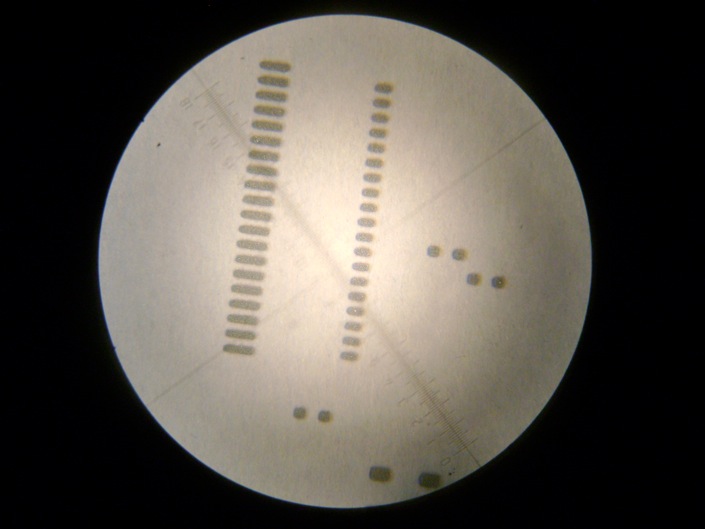
E.) Auf das echte PCB angewendet
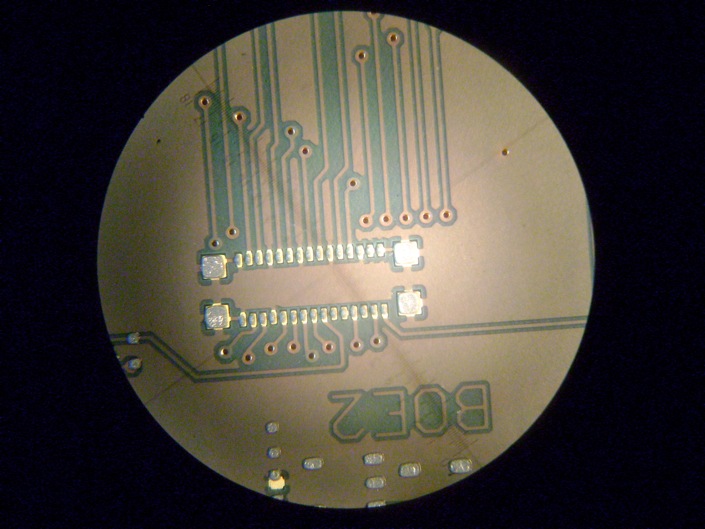
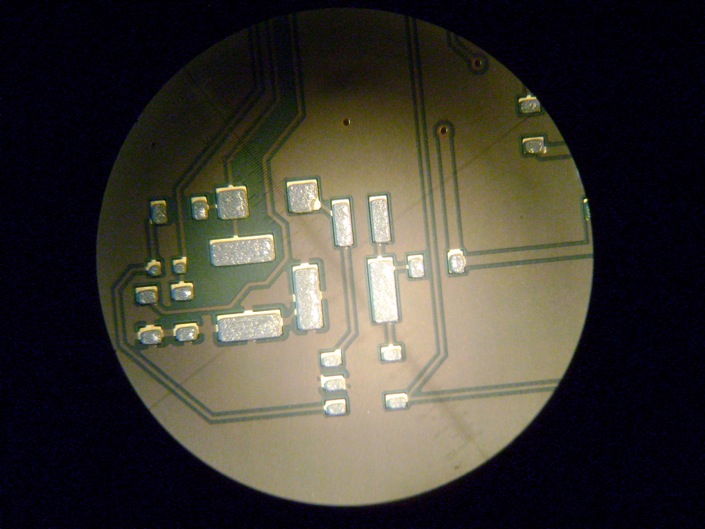
F.) Manueles heben und setzen (mit einem kleinen Tool, für eine ruhige Hand)
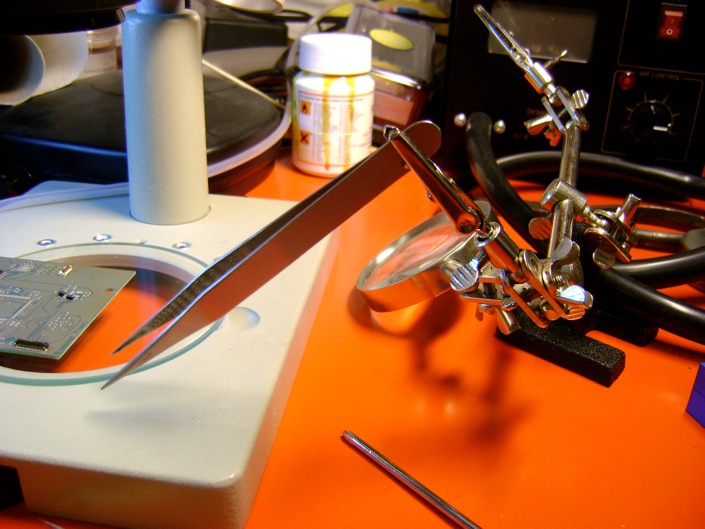
G.) Bauteile sorgsam angebracht
H.) Nächster Schritt: In den (Pizza) Ofen, um das Board zu backen.
Hat gut funktioniert - keine Kurzschlüsse, PCB ist bereits getestet und Funktioniert
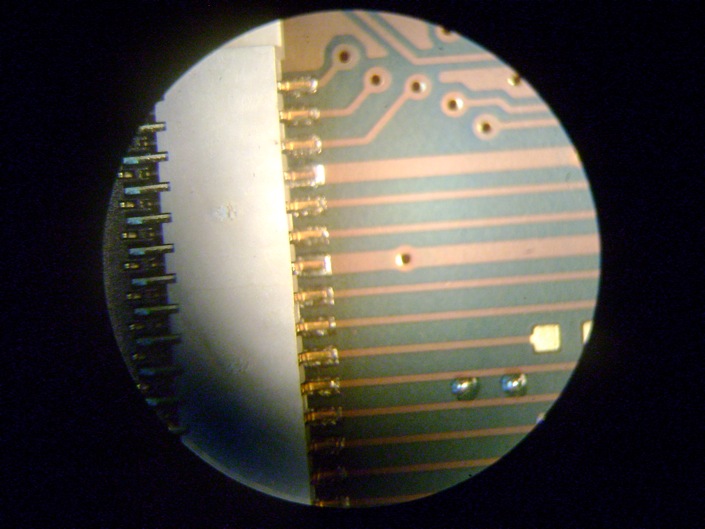
Damit ist der nächste Schritt, das Display zum arbeiten zu bekommen
3.) Die GamesCom und andere Vorbereitungen
Askarus und ich haben am GemesCom-Stand gearbeitet.
Hier ist ein kleiner Überblick, wie unser Stand aussehen wird:
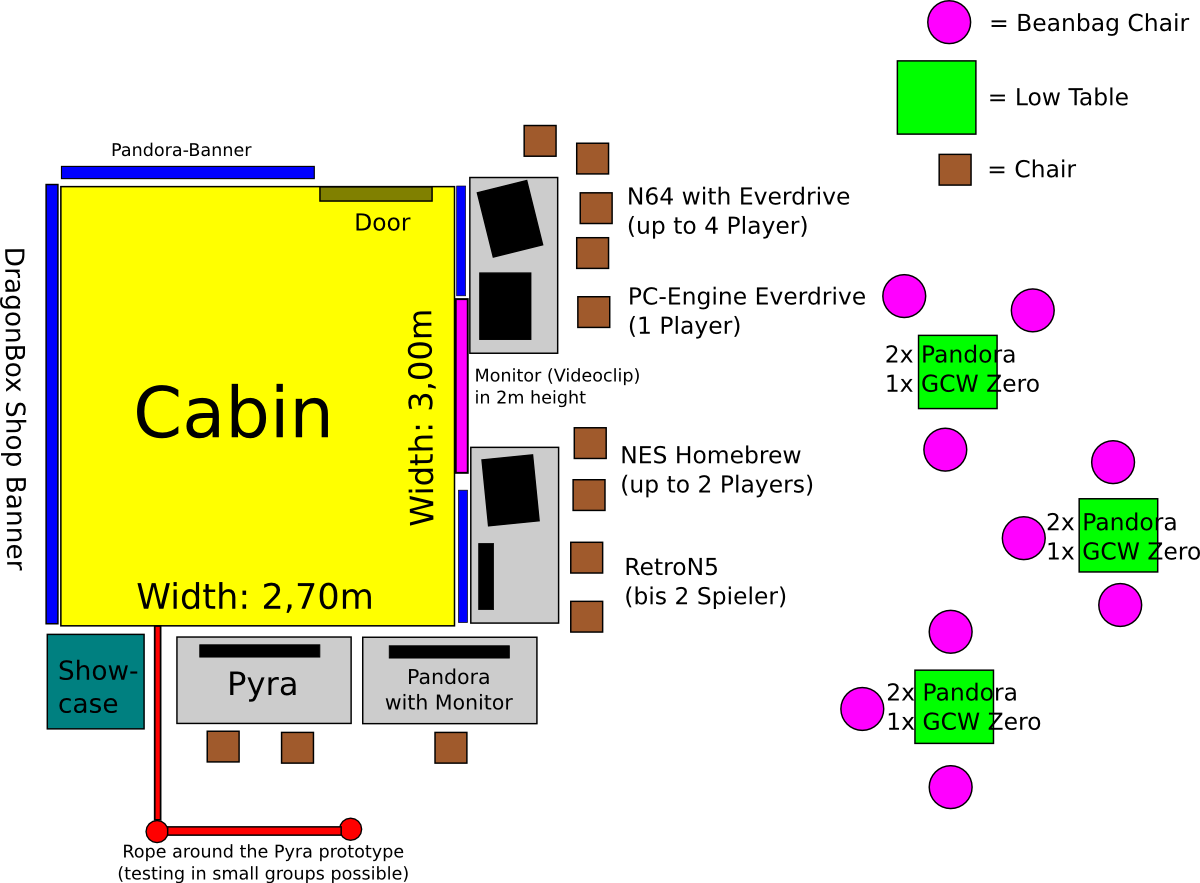
Zusätzlich habe ich noch den Pyra Bereich im DragonBox Shop eröffnet.
Es wird bald mit Merchandise Produkten gefüllt.
Ich werde auch das Gerät selbst hinzufügen (es kann selbstverständlich noch nicht bestellt werden), da der Shop Notification E-Mails unterstützt, damit kann jeder, der Interesse an der Pyra hat, aber nicht der Entwicklung folgt, sich einschreiben, für eine Benachrichtigung, wenn die Vorbestellungen starten.
Sehe euch bald.
Blog
Quelle

